Brakes
Zero's Gen2 models have single-disc brakes for front and rear systems.
Brake Maintenance
- Check for pad wear or debris.
Keep the pads and discs clean.
An occasional brushing of the disc holes is worth doing maybe once a year. - Check hydraulic fluid level.
Make sure the brake fluid is in good shape and the type/specs you need.
If in doubt, replace with fresh fluid (not from an already opened bottle). - Make sure the brake fluid reservoir is not over-filled (top).
There has to be some empty space, or your bike will be lightly "braked" and your disk/pads will deteriorate prematurely...and you will get less range.
Brake Systems
| Front | Rear | ||||||
|---|---|---|---|---|---|---|---|
| Year | Manufacturer | Rotor | Caliper | Manufacturer | Rotor | Caliper | Notes |
| 2013 | Nissin | 313mm (listed) / 310mm (actual) ⌀ - floating - matches KTM 450SMR |
Nissin | 221mm ⌀ - fixed |
relatively weak J Juan upgrade available for rear brake. |
||
| 2014 | 〃 | 〃 | 〃 | J Juan | 240mm ⌀ | S: 34mm X: 30mm |
Same pad sizes as 2013. |
| 2015 | J Juan | 320mm ⌀ - non-floating M8x23mm shoulder screw fasteners |
S: 32/30mm X: 27mm |
〃 | 〃 | 〃 | Bosch Gen 9 ABS; New pad sizes. |
| 2016 | 〃 | 〃 | 〃 | 〃 | 〃 | 〃 | Bosch Gen 9 ABS |
| 2017 | 〃 | 〃 | 〃 | 〃 | 〃 | 〃 | 〃 |
| 2018 | 〃 | 〃 | 〃 | 〃 | 〃 | 〃 | 〃 |
| 2019 | 〃 | 〃 | 〃 | 〃 | 〃 | 〃 | 〃 |
| 2020 | 〃 | 〃 | 〃 | 〃 | 〃 | 〃 | 〃 |
Brake Hydraulics
| Models | Front | |||
|---|---|---|---|---|
| Platform | Years | Caliper Piston Area | MC Piston Area | Hydraulic-Advantage Ratio |
| S | 2015 | 1509 mm² (total) | 126 mm² | 11.9:1 |
| 〃 | 2016 | 〃 | 〃 | 〃 |
| 〃 | 2017 | 〃 | 〃 | 〃 |
| 〃 | 2018 | 〃 | 〃 | 〃 |
| 〃 | 2019 | 〃 | 〃 | 〃 |
| 〃 | 2020 | 〃 | 〃 | 〃 |
A 9.5mm-piston master cylinder - like the Nissin 3/8 I put on my 'MX' bike - would give the SR a 21.1:1 ratio, or @ 78% more pad pressure than the OEM 12.7mm master cylinder.
Any Brembo, Nissin, etc. 9.5mm / .375" master cylinder w/switch should drop right in and make a huge difference, and you won't have to touch anything else.
On the rear, the 11mm master cylinder from the FX (Zero part# 25-06731) has 49mm M6 bolt spacing / rear reservoir hose / top output / clevis, and should give @ 19% more pad pressure than the SR 12mm master cylinder.
This won't be a night-and-day difference like the front master cylinder change, but it should still be very noticeable.
Rear Brake Actuator
The rear brake is manipulated by a dirt-bike style pedal around the right footpeg, a common motorcycle configuration.
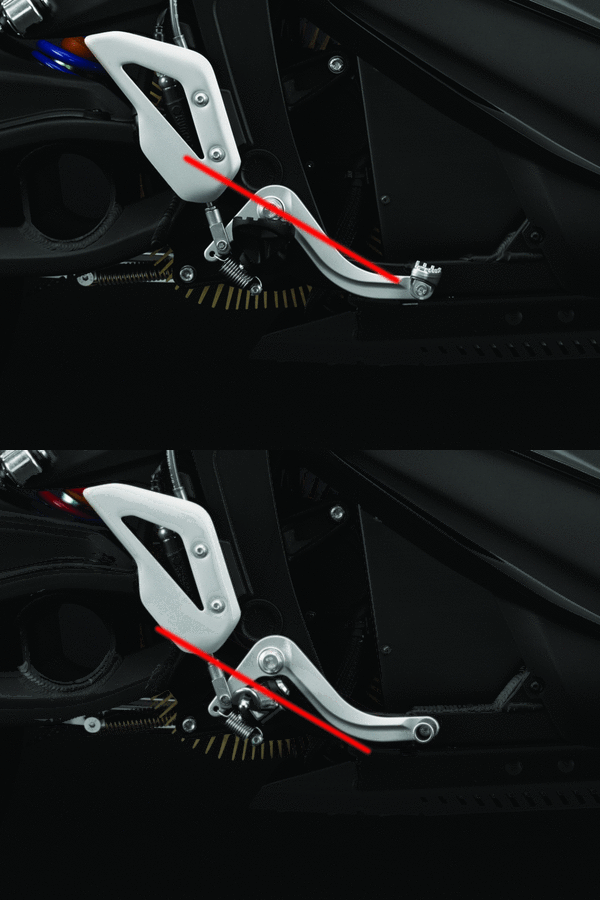 S and DS foot pedals compared
The rear brake has its own master cylinder behind the rear footpeg on the right.
Pedal Construction
Cast aluminum with a powder coat finish.
On pre-2015 models, the pedal is made from a single piece.
On 2015+ models, the pedal toe actuator is bolted on (M6X20-8.8) and may be replaced or have an S vs DS toe actuator swap.
Rear Brake Switch
The rear brake switch is activated hydraulically by pressure in the rear brake system.
The rear brake switch is built into top banjo bolt.
Rear Brake Pedal
The threaded rod from the brake lever to the master cylinder adjusts lever height.
Rear Brake Pedal Adjustment
The rear brake pedal is adjustable at the clevis.
- Remove the pin.
The pin is the part that connects the brake pedal to the clevis.
The clevis is the fork shaped part that goes either side of the sheet metal pedal. 2. Loosen the actuator shaft locknut above the clevis. 3. Grip the shaft firmly with (say) long heavy-duty needle-nose pliers. 4. Rotate the shaft clockwise (back toward the rear of the bike) to lower the pedal foot.
Or counterclockwise (towards the front) to raise the pedal foot up. 5. Tighten the locknut back up to hold the clevis in place. 6. Put the pin back in.
Rear Brake Pedal Spring
On most models, there is a spring suitable for a dirt bike that is over-designed for a street bike.
There is a kind of spring inside the brake pump, so the external one is just to keep the foot-pedal without rattling.
Suggestion: Remove the rear brake spring or replace it with a lighter spring.
Test the rear brake after doing this.
References
[Re: 2016 FXS Rear brake light comes on way too late]
Is there an adjustable pedal brake lever?
DSR Rear brake lever height adjustment
ABS System
2015+ models have a Bosch ABS system installed.
ABS Unit
ABS Wheel Sensors
Brake Pads
Zero Motorcycles models use disc brakes with consumable brake pads applied by calipers to the rotors.
General Reading Material
Top 10 Questions About Motorcycle Brake Pads
Motorcycle Brake Pads & Rotors Explained, by Galfer USA
Sintered vs Organic Brake Pads
General Brake Pad Replacement Suggestions
- 2013+ (Gen2, Gen3): Try to not use synthetics pads or "sintered", but organic or semi sintered ones.
Sintered are better for very aggressive riding/braking, but are generally noisier. - 2012 and earlier (Gen1): Keep the sintered pads
Brake pump is very weak on these models; you need all the braking power you can get in spite of noise.
Sand the pads.
Grease the back of the pads lightly with ceramic grease (copper grease can interfere with ABS sensors).
Check caliper position.
Check caliper springs, if any.
Check the wheel for trueness.
Sand the disk; it could have lightly crystalized.
Make sure all the bolts in the system (including wheel) are properly tightened.
After all of this has been preformed and before riding, clean everything exposed to dirt/grease with isopropyl alcohol
When riding again, try to not brake very aggressively the first 20-30 miles.
Brake Problems
This covers general problems with brake pads, in terms of typical symptoms.
Brake Squeak
Brake squeak (pad front against the disc) happens occasionally and is relatively quiet and noticeable but not anomalous.
Brake squeal (pad back resonating against caliper cylinder) can be very loud and annoying. Squeal does not technically impact performance but it's very unpleasant and might cause the rider to hesitate before fully braking which is a safety issue.
Solutions
- Clean the pads and/or discs for squeaking.
- Try a different brake pad (attractive if you want a different pad feel or performance in the first place).
- LocTite Disc Brake Quiet stick applicator for the backs of the pads.
- Chamfer the brake pads
File the edges of the pad to put a 45 degree edge on them
You only need 1-2mm
Brake Pad Fit
Nissin (2013 on rear, and 2013/2014 front)
J Juan (2014+ on rear, 2015+ on front)
Past forum threads of highly varying quality / ability to clarify:
- This forum discussion starts with the 14FX and brings up lots of issues.
- Another forum thread on brake pad alternatives to OEM/stock.
- One exhaustive listing from Burton which unfortunately have the wrong EBC fitment numbers.
EBC
The EBC brake catalog covers Zero models.
However, it has always had the wrong shape recommendation for 2013-2014 models, and for the FX entirely! Double-check any recommendation.
Their Carbon X pads can eliminate front brake squeal. EBC Carbon X page
SBS
offers a brake search engine which covers Zero models.
Goldfren
offers a good cross reference between brands.
Brembo's Motorcycle Brakes Configurator has reasonably usable Zero model lookup.
Their Carbon Ceramic pads are reported to resolve brake squeal issues.
Front Brake Pad Replacement
See Brake Pad Lookup to ensure a brake pad match.
 Warning: |
Avoid touching the pad and rotor surfaces with sharp tools and anything dirty or greasy. Avoid applying one-sided pressure to the rotor. |
2013-2014 S-platform
Actual bike used was a 2014 SR (Nissin 313mm). Likely applicable to S/DS/DSR.
Tools
- 13mm hex socket
- Torque wrench
- 4mm Allen key
- Size 1 flat head screwdriver
- Sandpaper
- Brake cleaner
- Ceramic grease (copper grease can interfer with the ABS sensors)
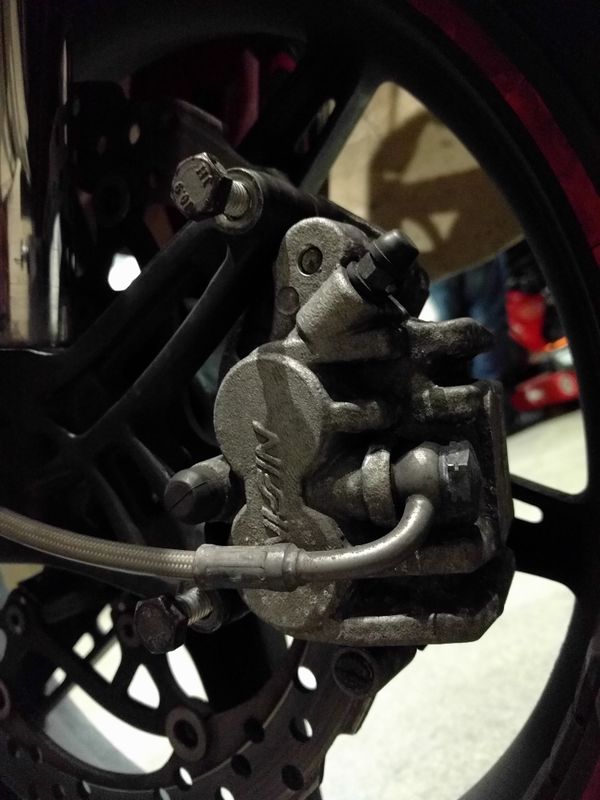 Nissin front brake 2014SR loosen bolts
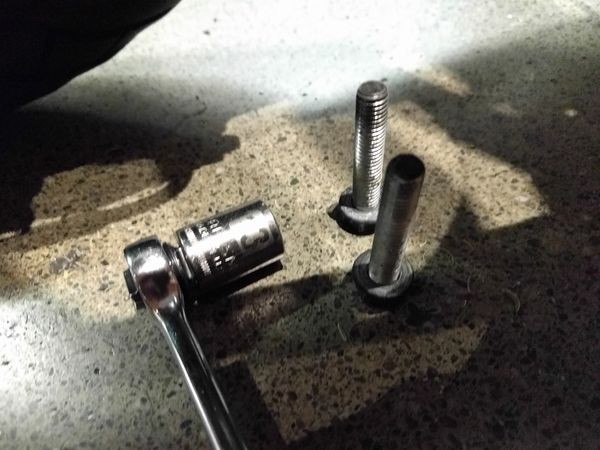 Nissin front caliper bolts 13mm hex 2014SR
Steps
- Clean the slave cylinder to prevent forcing damaging detritus into the seal.
- Gently force the brake pads away from the disk, to ensure room for the new pads, which will be thicker than the worn pads.
Apply pressure evenly by hand or with a soft-surfaced tool. 3. Pre-2015: Using the Size 1 flat blade screwdriver, remove the cap to expose the head of the pin.
| Warning: |
Penetrating oil may be necessary, and it's important to use the right size flat blade, as smaller ones can strip the slot as you apply pressure. |
| Warning: |
Rely on the caliper bolts' anchoring to the disc to ensure leverage. |
| 4. Remove the pin using a 4mm Allen key. |
| Warning: |
Rely on the caliper bolts' anchoring to the disc to ensure leverage. |
| 5. Remove the 13mm hex bolts holding the caliper to the fork bracket. | |
| 6. Remove the caliper from the brake disc; inspect and clean. |
It may be possible to change the brake pads without removing the calipers from the disk, but removal is more thorough to check for wear and keep it clean. 7. Remove the plate with the brake pads, inspect and clean, and put in fresh pads. 8. Apply ceramic grease to the slave cylinders and sand the front surface of the pads. 9. Re-install the pin through the brake pads to anchor them in place.
Apply a drop of blue Loctite to prevent it coming loose. 10. Re-install the calipers against the rotor: 1. With the pads separated sufficiently, slide the caliper over the front disc. 2. Align the caliper mounting holes with the fork bracket and thread the 13mm hex bolts to hold in place. 3. Apply some blue Loctite to each caliper mounting bolt and tighten with the 13mm hex socket to the right torque (2014+: 19ft-lb, 2013: 12ft-lb). 4. Pre-2015: Using the Size 1 flat blade screwdriver and a drop of blue Loctite, re-install and tighten the cap over the head of the pin. 11. Squeeze the front brake lever a few times to build up pressure in the hydraulics and press the pads up to the disc. 12. Test the brakes 1. Rotate the front wheel to check that the caliper doesn't impede the wheel. 2. Roll the bike and test the brake lever action. 3. If there are no obvious problems, gear up and slowly ride the bike to test the brakes. 4. If possible, gradually increase the speed of the braking tests to seat and smooth the pads. 5. Perform an initially very slow test ride (walking speed up to 25mph), checking brake function and ensuring they are seated and performing adequately.
2015+ S Platform
Actual bike used was a 2016 SR
- Locate the bolt used to pin the low side of the brake pads.
Remove the clip on the inside of the bolt. 2. Detach the ABS wire from the brake line, by carefully unclipping the lower three fasteners holding the ABS wire to the brake line. 3. Remove the bolt pinning the pads with a #25 Torx bit. 4. Back out the caliper bolts with a 8mm hex bit on a 12-inch or longer wrench. 5. Remove the caliper from the rotor. 1. Complelely remove the caliper bolts and slide the caliper as far as possible off the rotor. 2. With a flat screwdriver about 8-inches long, drop the inside pad out of the caliper. 3. After the inside pad clears the caliper, remove the caliper. 6. Temporarily hold the old pads against the pistons by loosely replacing the bolt that pins the pads. 7. Fully push back the pistons, by using a C-clamp with at least 2x2-inch opening and 1-inch heads, clamping the old pads to the outside caliper body. 8. Remove the clamp and old pads. 9. Test fit the new pads. 10. Insert the outside pad in the caliper. 11. Hold the caliper against the rotor and insert the inside pad. 12. Re-install the calipers against the rotor: 1. Position the caliper to insert the caliper bolts, and tighten a little more than finger-tight. 2. Carefully drive the pad-pinning bolt until it stops, and reinstall the inboard clip. 3. Remove the caliper bolts one at a time, apply Loctite 242 or equivalent, and retighten. 4. Torque the caliper bolts to 19 lb-ft (26 Nm). 5. Re-attach the ABS wire to the brake line (via the 3 clips). 13. Squeeze the front brake lever a few times to build up pressure in the hydraulics and press the pads up to the disc. 14. Test the brakes 1. Rotate the front wheel to check that the caliper doesn't impede the wheel. 2. Roll the bike and test the brake lever action. 3. If there are no obvious problems, gear up and slowly ride the bike to test the brakes. 4. If possible, gradually increase the speed of the braking tests to seat and smooth the pads. 5. Perform an initially very slow test ride (walking speed up to 25mph), checking brake function and ensuring they are seated and performing adequately.
Rear Brake Pad Replacement
Tools
- T25 Torx bit screwdriver
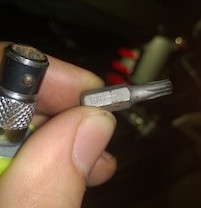 Torx T-25
- Flat blade screwdriver
- Small pliers
- 200 grit sand paper (optional)
Steps
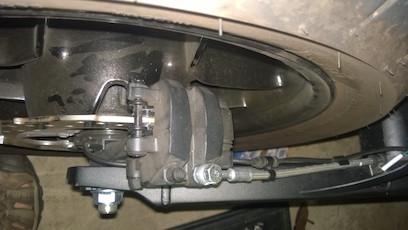
- Remove safety spring-clip from the rear of the bolt (on the side of the wheel).
Just push it out with a flathead screwdriver.
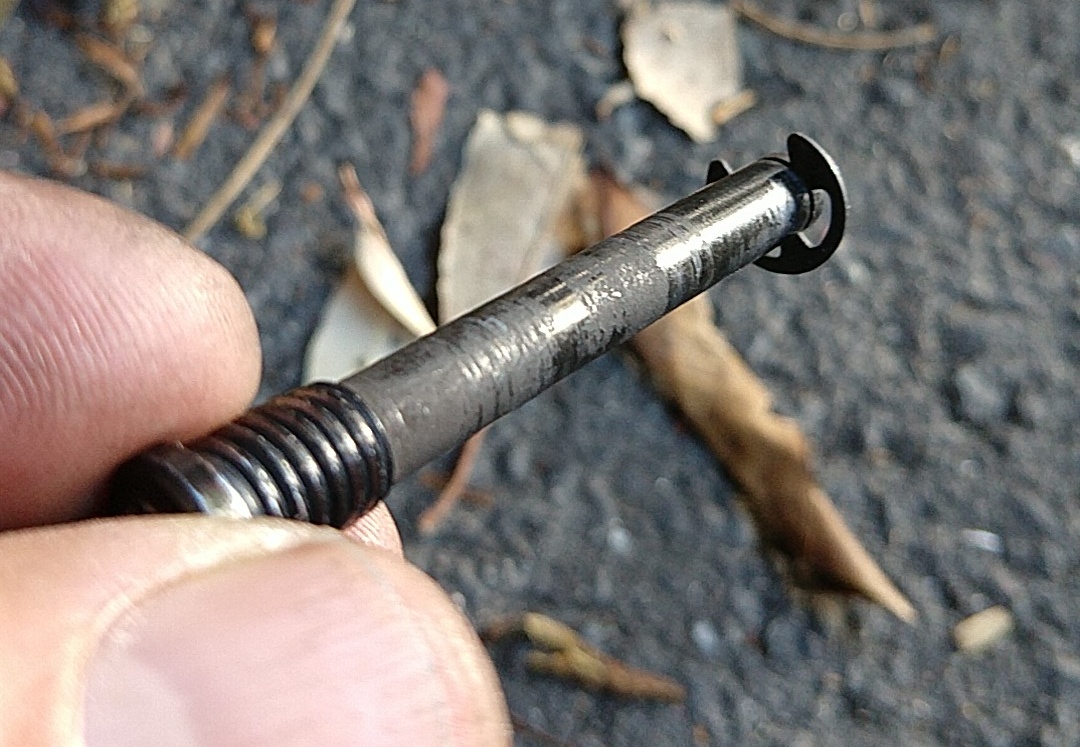
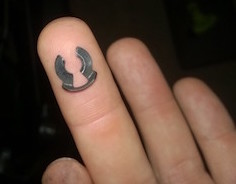 2. Remove the bolt that goes through the "eye" of the brake pads (using #25 torx driver).
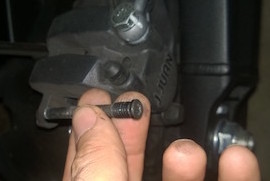
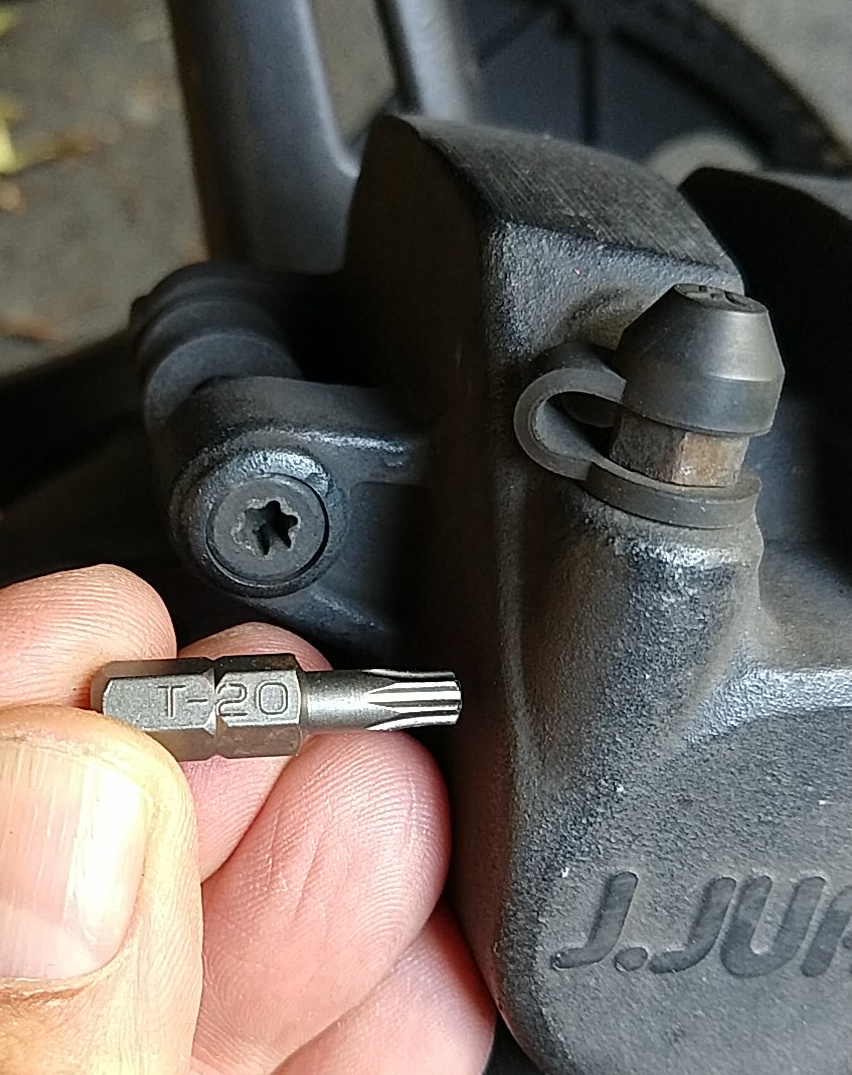 3. Pull out the pads.
They just come out when pulled gently by hand towards the rear of the bike.
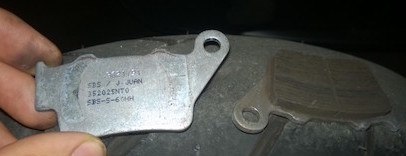

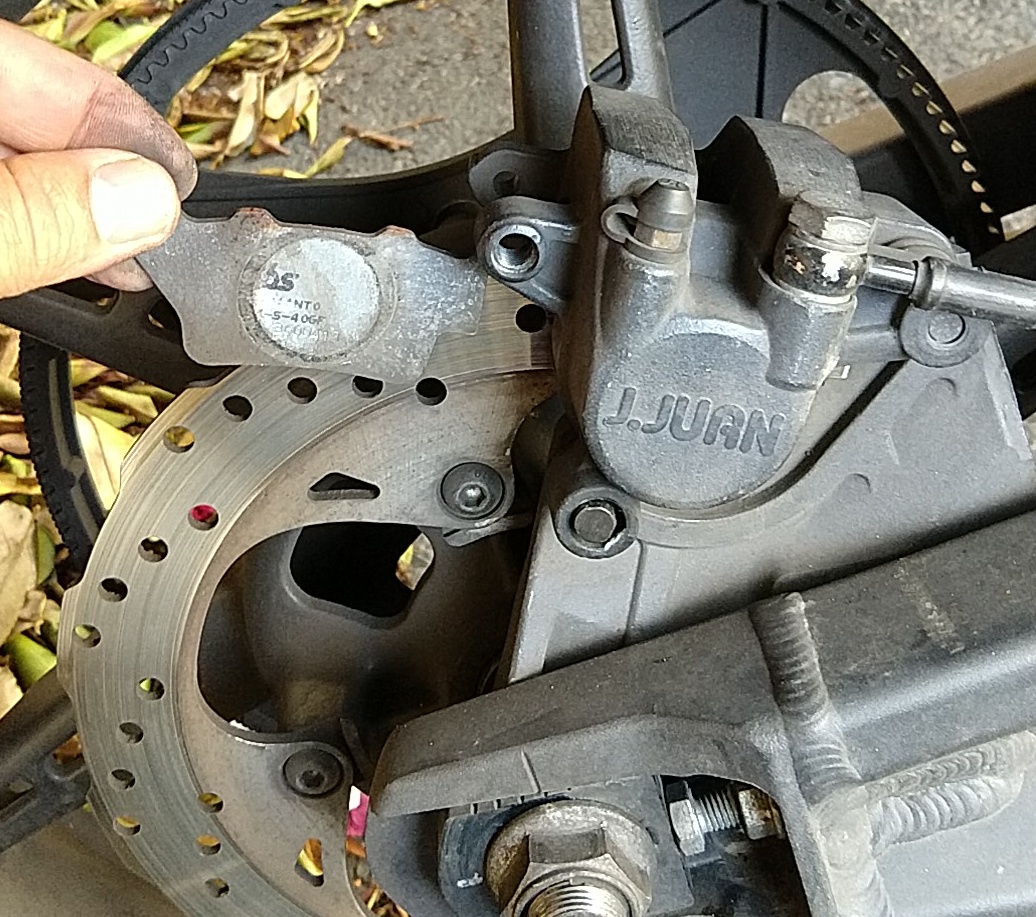 4. If there's any debris like paint on the pad material, you may want to sand them flat/clean gently over some 200 grit sandpaper on a flat surface.
5. Put in new pads.
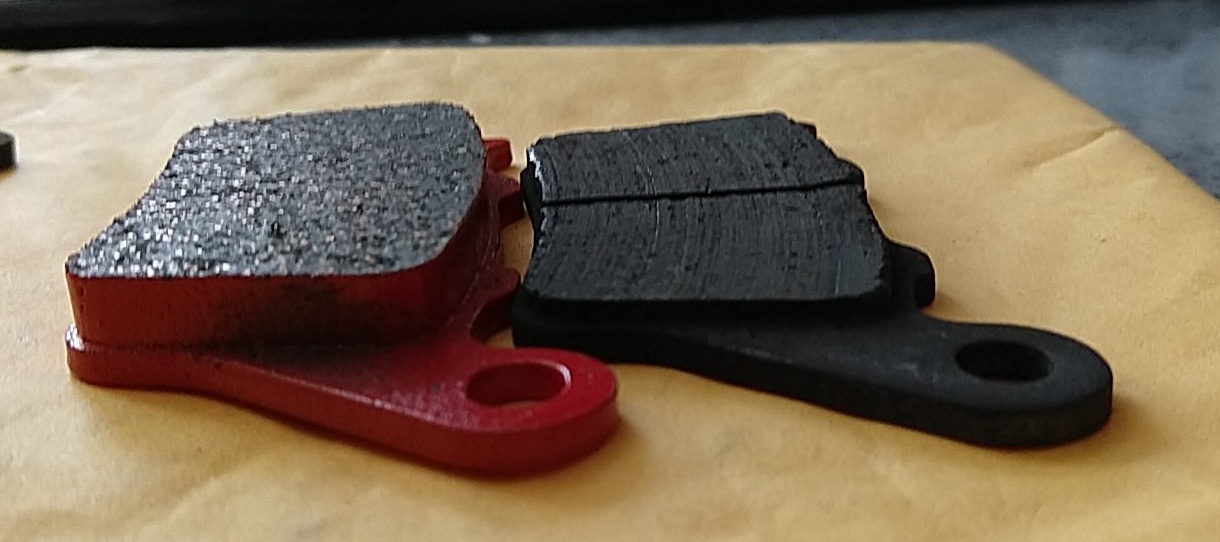 6. Screw-in the bolt.
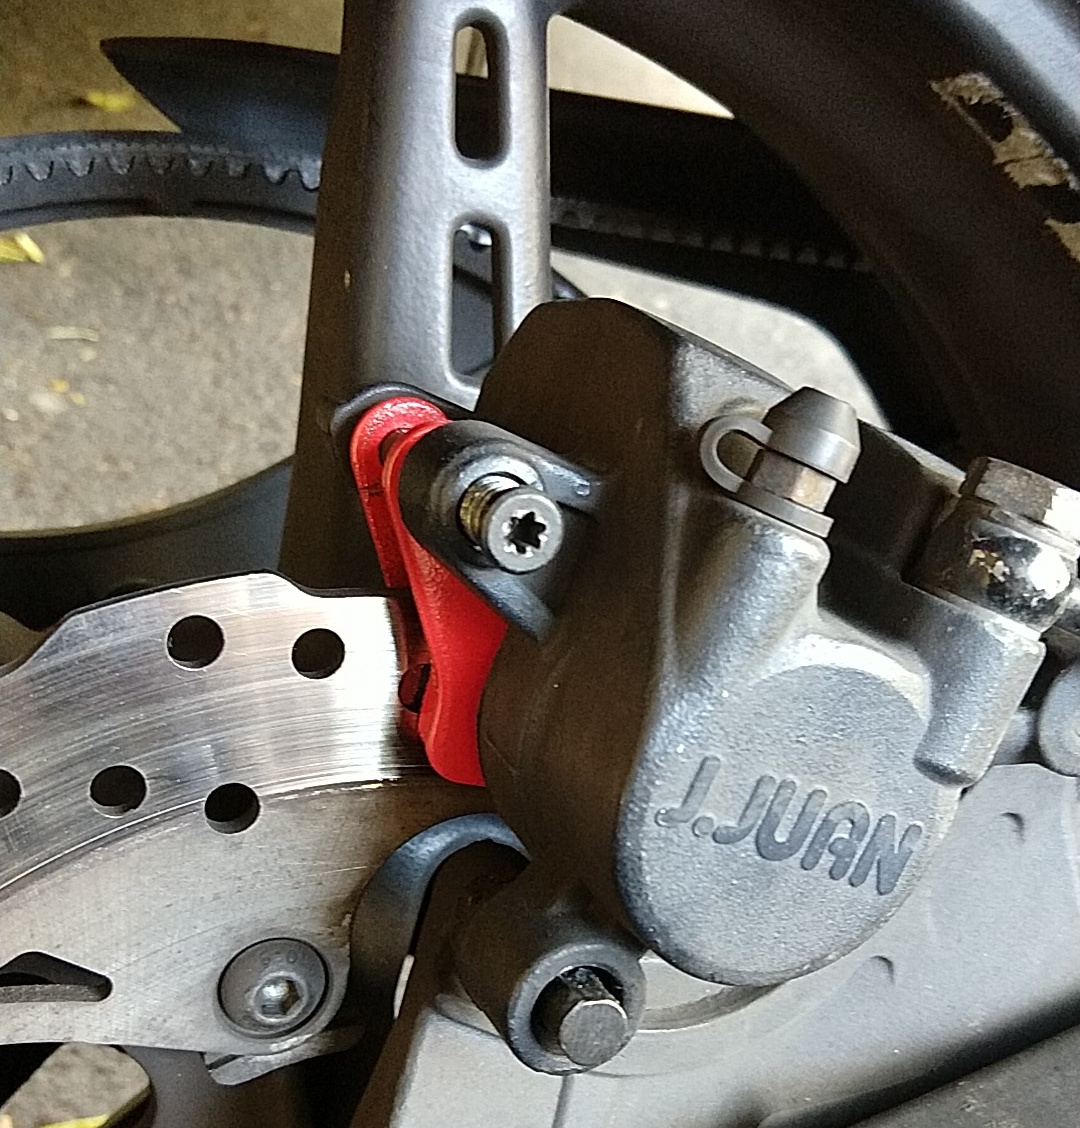
It maybe good to use some anti-seize paste if not present from the factory.
Torque value unknown, but be quite gentle - probably something like 10lb/ft (hand-tighten firmly with a regular screwdriver kind of torque). 7. Reinstall safety clip. 8. Test your ride carefully!
References
Per Rear Pad Replacement for J Juan rear brakes (2014+)
Source: zeromanual.com/wiki/XMX_Platform/Unofficial_Service_Manual · Wayback capture of 2025-09-10 · wiki last edited 4 November 2020 02:21. Community-written content from the Unofficial Zero Manual, reproduced for preservation; not written or verified by OpenZero. Links to pages that were not mirrored go to the Wayback Machine.